Requirements:
- CasaOS
- Access to your home/business firewall
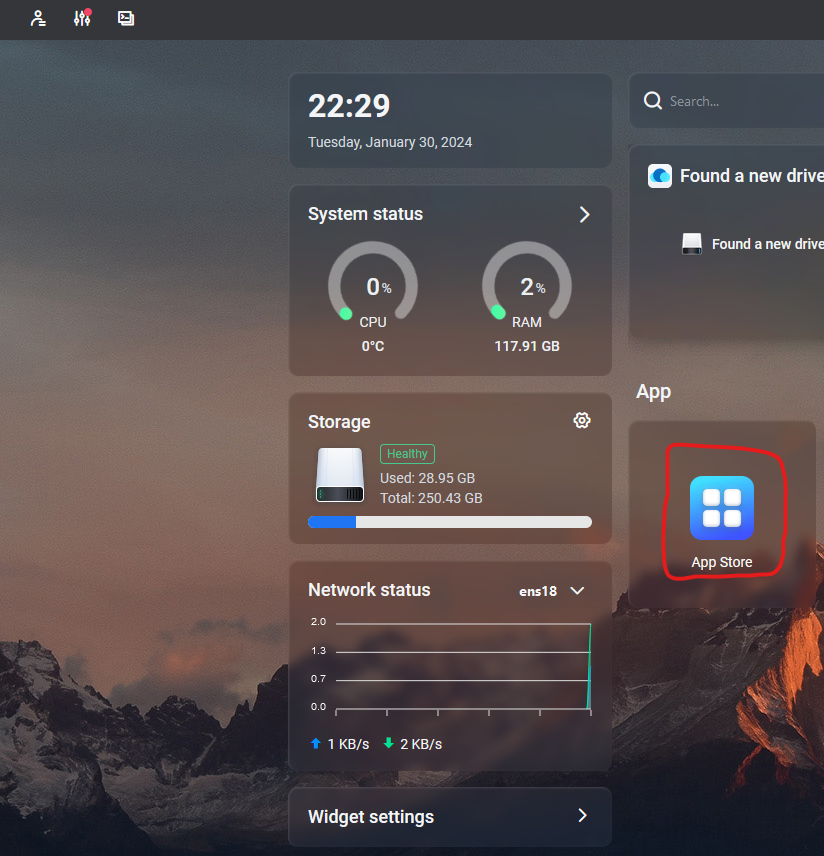
Step 1.
Go to your CasaOS instance and log in to the main dashboard and go to "AppStore"
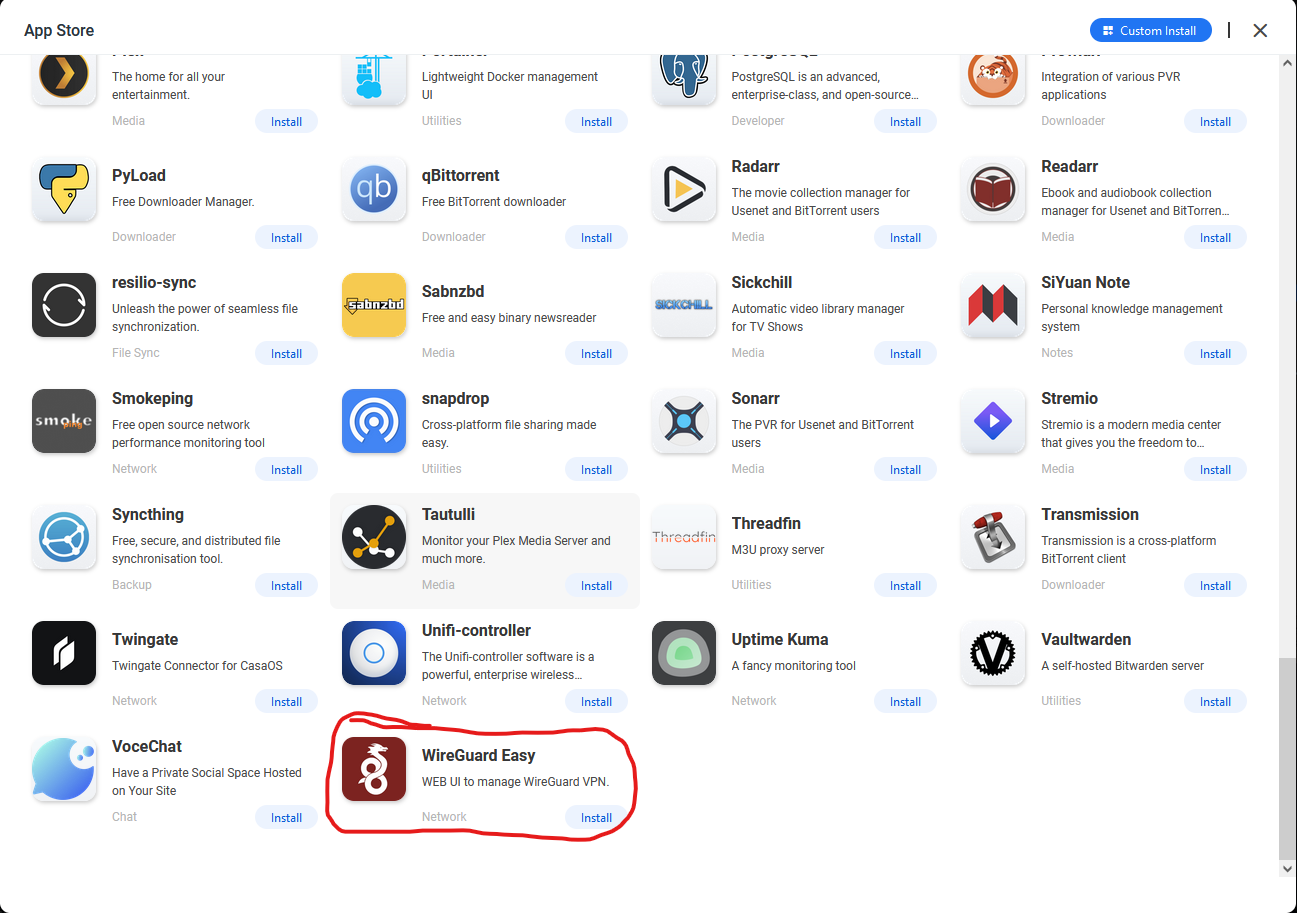
Step 2.
Scroll to the very bottom and click install on "WireGuard"
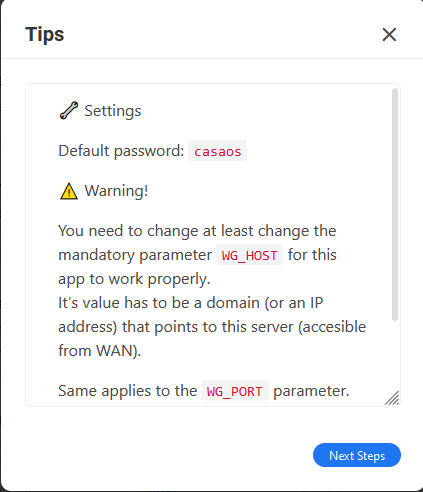
Step 3.
A Cautionary message will appear. We will go into further depth on the message so just go ahead and click "Next Steps"
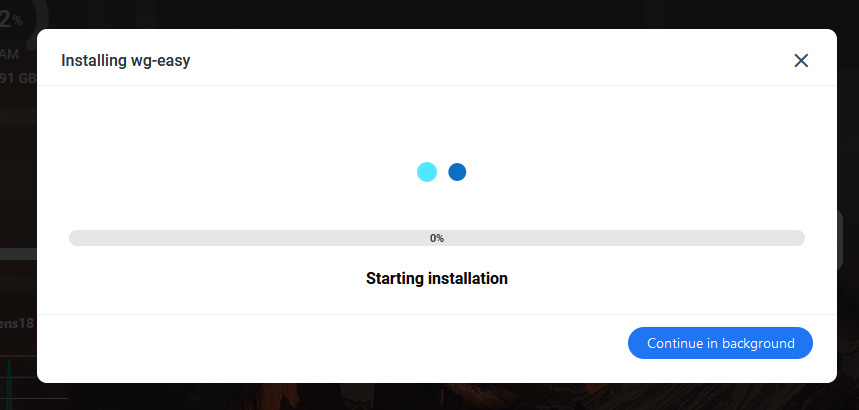
Wireguard should now be installing and starting up
Step 4.
Once the install is finished, Before we continue we need to fix a couple of the "Environment Variables" from there default values. To change these settings, Hover over the "WireGuard" app on the CasaOS Dashboard and click the 3 dots to the top right and click settings.

Scroll a little bit down and the main two variables we need to change are shown below
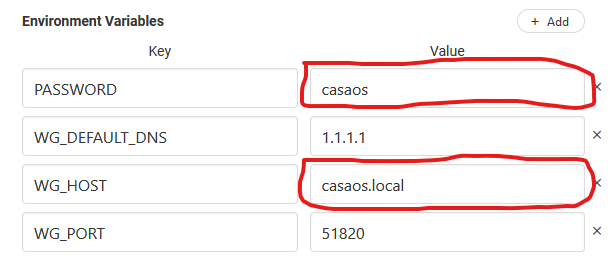
For the "PASSWORD" Key, Change the Value from "casaos" to a more secure password but a password you do NOT normally use since it can be seen in plain text from this section.
For the "WG_HOST" Key, Change the Value to your public IP Address. If you don't know your public IP, On the same network go to https://ipchicken.com and you can find it there. Once you have it replace the "casaos.local" with that public IP
Once finished scroll to the bottom and hit "Save"
Step 5.
Time to open the port "51820" for Wireguard on your firewall.This step's specifics differ across networks, as firewalls come in various models and configurations. Therefore I can't easily explain this step. If you're uncertain about how to open a port in your firewall, consult your model's user manual or explore online forums for guidance. In the event you encounter difficulties with port configuration or you don't have access to your router, you can click the link below for the Tailscale VPN installation, as it operates seamlessly without necessitating any firewall adjustments.
Step 6.
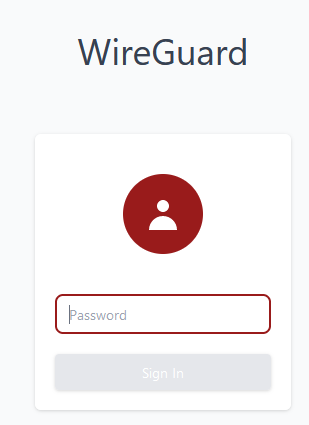
With the firewall port now open to your system's local IP address and the WireGuard installation successfully completed, let's proceed to set up a device. Begin by accessing the VPN dashboard login page at http://LOCALIP:51821. (Use the password you generated in "Step 4" above.)
Step 7.
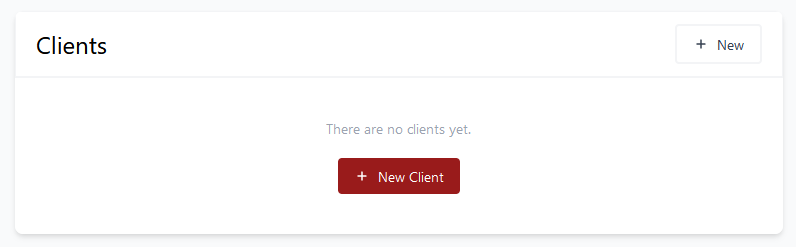
Now that you're logged in, Click the red button saying "New Client"
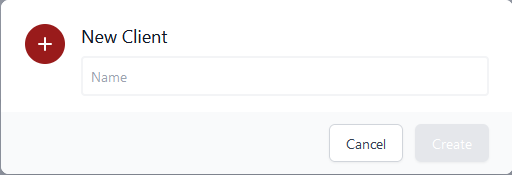
A pop-up will prompt you to enter a name. I suggest naming each of your devices descriptively, such as "phone," "laptop," or "desktop," for better organization and due to the fact that 2 devices cannot be connected on the same profile at the same time.
Step 8.
Now with your devices profiles created, Lets get your devices now connected. Start by downloading the client on each of your devices with the link below
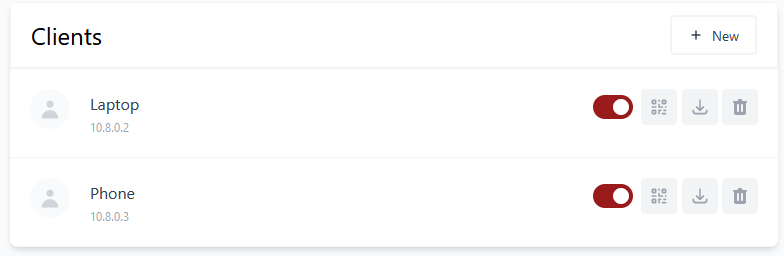
For Windows and Mac, You'll want to download the configuration by hitting the "download" button next to the trashcan

Step 9.
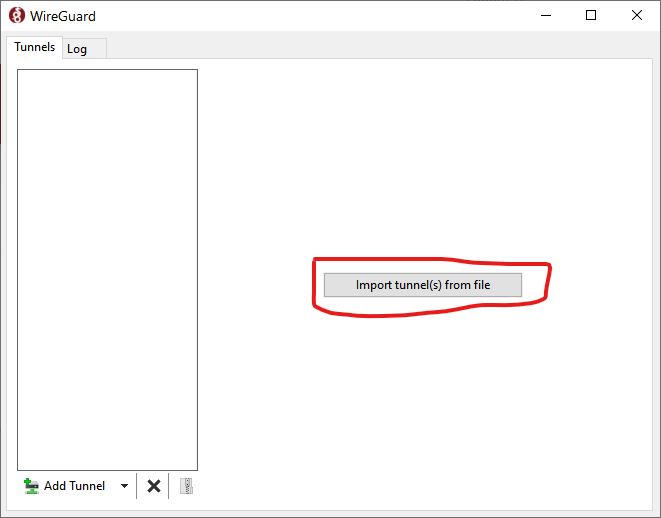
Now with the Client installed, Open WireGuard and you'll see a window like below. Click the "Import" button and choose the .conf file you downloaded from the dashboard.
Once you add it, The window will change to something similar below. Make sure the "Endpoint:" at the bottom has your public IP address and port 51820
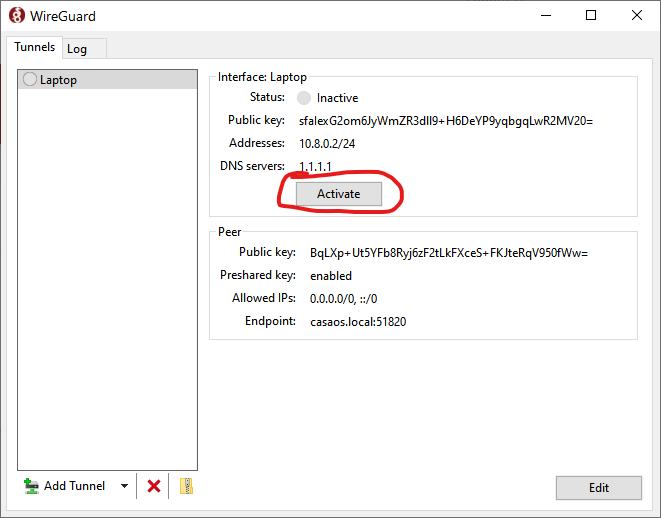
You CANNOT connect to your VPN from inside the network. That's like trying to ring your doorbell while locked inside the house. Just not gonna work right. If you want to now test your VPN, Either connect to another network or use your phones hotspot and connect to its wifi. When connected you should see a new "Transfer" line and data amounts rising on received and sent
For adding your phone, Download the WireGuard app from your respective AppStore. When you open the app, you have the option to add by file or scan qr code. Choose scan QR and go back to your WireGuard Dashboard. Next to the download button you used for the Windows and Mac is a Show QR Code button. Click that and a QR will pop up on your screen. Just scan it, Name it on your phone and connect.
